We have a lot of web developers taking advantage of the Zunicore flexibility while building and hosting their sites on the Zunicore Cloud. Some of their design and site integration with Content Management Systems (CMS) is truly remarkable. Their ability to create, customize, configure, backup, and even create the server as a customized template really showcases how incredibly advanced these users are and how easy it is for CMS developers to maximize efficiency using the Zunicore Cloud.
However, not all of our users are familiar with building a Content Management Server and web developing using Php or MySQL. So, to provide further insight into how simple it can be to set up a CMS using our Zunicore Cloud, we wanted to show how quick and easy it can be.
You will first need to install the basic packages:
apache
MySQL
Php53
Php53-mysql
unzip
wget
These packages will allow you to build the CMS as a Linux web server and wget will retrieve the latest WordPress software.
#yum -y install mysql-server httpd php53 php53-mysql unzip wget
Make sure to turn on MySQL and Apache:
#service mysqld start; service httpd start
You will then need to make sure Apache and MySQL will start at run time:
#chkconfig httpd on; chkconfig mysqld on
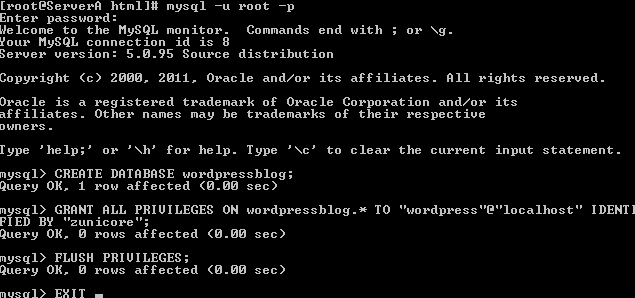
Now, you will need to create a database for your WordPress server:
#mysql -u root -p
mysql> CREATE DATABASE wordpressblog;
mysql> GRANT ALL PRIVILEGES ON wordpressblog.* TO “wordpress”@”localhost” IDENTIFIED BY “zunicore” ;
mysql> FLUSH PRIVILEGES;
mysql> Exit;
We use the below values for the configuration:
DATABASE name = wordpressblog
Username = wordpress
Password = zunicore
After you have created the database, change directories to /var/www/html. You will now download the latest WordPress package and unzip it in your directory:
#wget http://wordpress.org/latest.zip
#unzip latest.zip
Once this extracts, you can remove the download .zip and the unnecessary directory:
#rm latest.zip ; mv wordpress/* ./ ; rmdir wordpress
Now, you will need to make wp-content/uploads and wp-content/cache writable by your web server:
#mkdir wp-content/uploads wp-content/cache
#chown apache:apache wp-content/uploads wp-content/cache
Next, you will need to edit the WordPress configuration file. First, copy wp-config-sample.php to wp-config.php:
#cp wp-config-sample.php wp-config.php
Then, edit /var/www/html/wp-config.php :
#vim /var/www/html/wp-config.php
Change the WordPress values correctly to match the database name, user, and password that was created earlier:
DB_NAME = the database name (wordpressblog)
DB_USER = user name (wordpress)
DB_HOST = localhost
DB_PASSWORD = PASSWORD (zunicore)
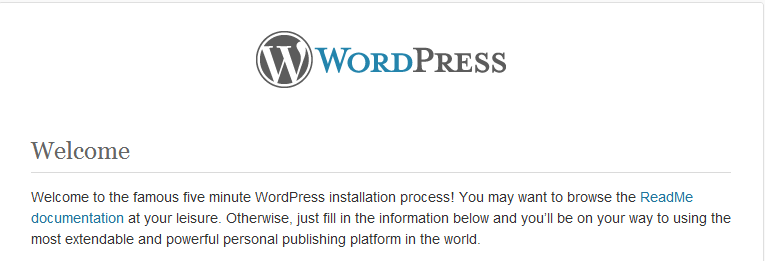
You can now complete the set up your of WordPress CMS. Open up your web browser and enter your IP address/wp-admin/install.php in the url field. You should see the WordPress Welcome message on your browser. This will start the process of creating a WordPress admin, adding the site name, and a description to your site:
Once you are done, you will then be forwarded to your first ever CMS!
At any point of the installation you are not comfortable with setting up the CMS or you would prefer an even easier experience, Standing Cloud provides you with a CMS of your choice and an incredibly easy, point and click install process all while using the Zunicore Cloud.


2 Responses to “Installing WordPress on your Zunicore Cloud Server”